
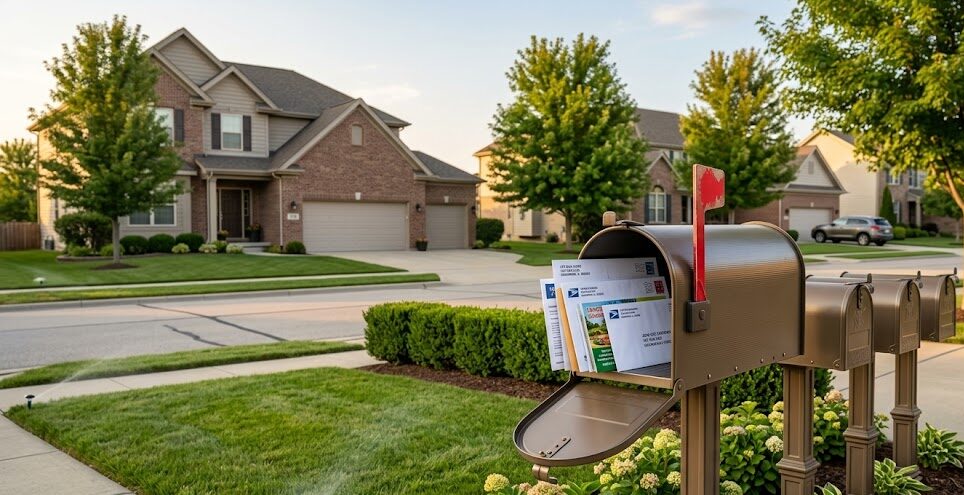
You have your new mailbox and post ready to install. You know where it needs to go. Now you’re looking at the ground wondering how deep to dig, how much concrete to use, and how to make sure it stays perfectly straight and doesn’t lean over time.
Here’s the complete process for installing a mailbox post that will stay secure and level for years.
Digging and Setting the
Post Foundation
Check regulations and locate utilities before digging anything. Call 811 at least two days before digging to have underground utilities marked for free. Hitting gas, electric, or water lines creates dangerous and expensive problems. Also check local postal service requirements for mailbox height and placement distance from the road. Most areas require mailboxes 41 to 45 inches high and set back 6 to 8 inches from the curb.
Dig the hole to proper depth and width. The general rule is one third of the post length should be underground. For a standard 6 foot post, dig down at least 24 inches, preferably 30 inches in cold climates to get below the frost line. Make the hole about 3 times wider than your post, typically 10 to 12 inches across. Wider holes allow more concrete for better stability.
Prepare the bottom of the hole correctly. Add 4 to 6 inches of gravel at the bottom before setting the post. This creates drainage so water doesn’t pool at the base of your post, which causes rot in wood posts and rust in metal posts. Tamp the gravel down firmly to create a solid base.
Set the post and check for level. Place your post in the hole. Use a level on two adjacent sides of the post to make sure it’s perfectly vertical. Have someone hold the post steady while you check level. Even slightly off level looks obviously wrong once the mailbox is attached.
Add temporary bracing before pouring concrete. Attach temporary wood braces or stakes to hold the post perfectly level while concrete sets. If the post shifts even slightly while concrete is wet, it will be permanently crooked. Check level again after bracing and adjust as needed.
Mix and pour concrete properly. Use fast setting concrete mix for mailbox posts. Mix according to package directions, usually just add water and stir. Pour concrete into the hole around the post, filling to about 2 inches below ground level. Use a stick or rod to poke the wet concrete repeatedly to remove air bubbles that weaken the concrete.
Slope the top of concrete for drainage. Before concrete fully hardens, slope the top surface away from the post on all sides. This prevents water from pooling against the post where it meets concrete. Let concrete cure for at least 24 to 48 hours before removing braces or attaching the mailbox.
Attaching the Mailbox and Final Details
- Install mailbox 41-45 inches from road surface
- Measure from the road, not ground level
- Face mailbox toward the road; door opens to traffic
- Use stainless steel or galvanized hardware
- Ensure all parts are tight and secure
- Pre-drill holes for metal or vinyl posts
- Add reflective house numbers (min. 3 inches ) on both sides
- Seal or paint wood posts immediately
- Use exterior-grade coating, especially on the top edge
- Fill with soil and slope away for drainage (avoid moisture buildup)
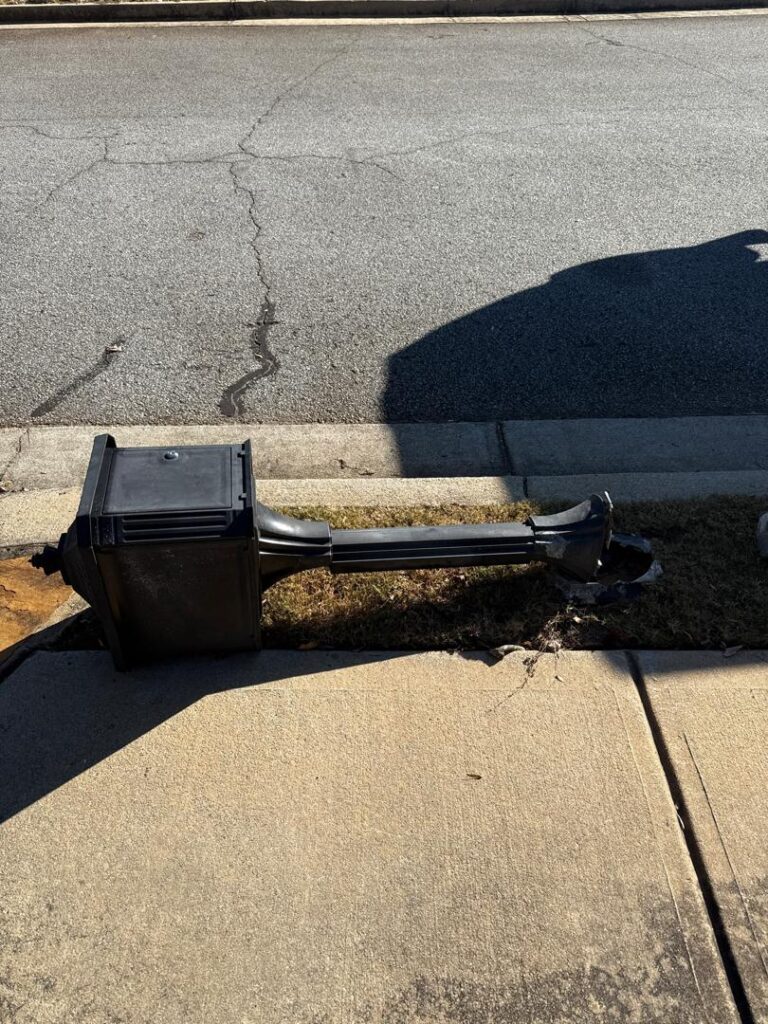
A Handyman Before vs After
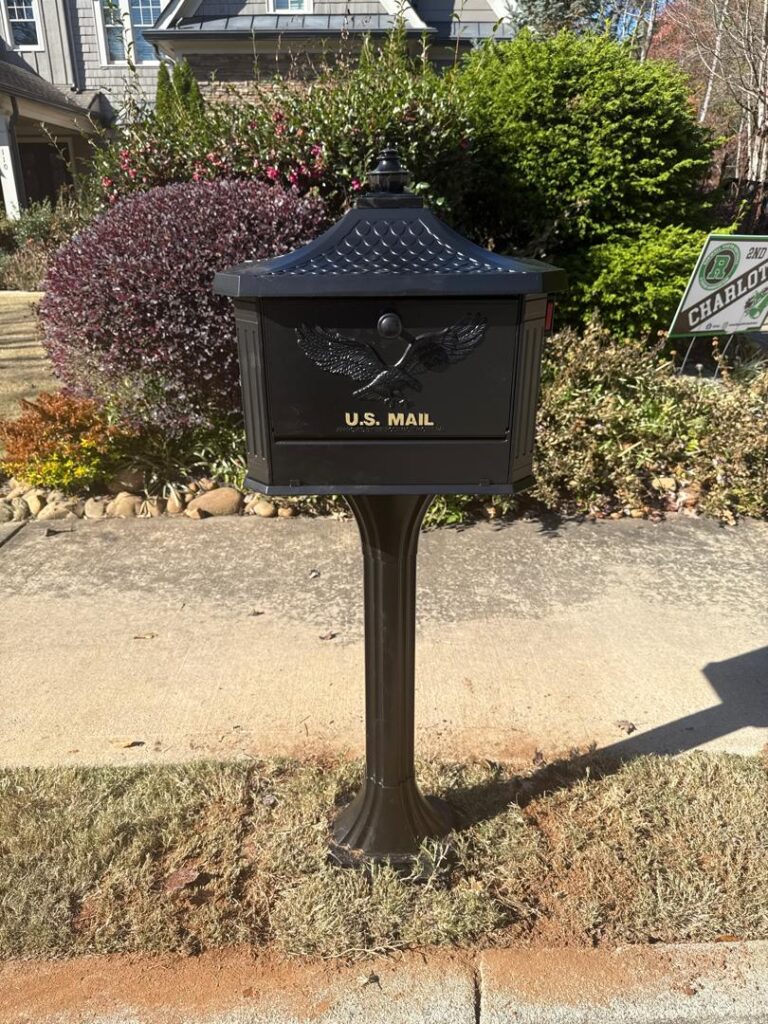
Get Your Mailbox Installed
At Handyman Harry, we install mailbox posts throughout Atlanta following all postal regulations and building codes. We dig to proper depth, set posts perfectly level, use correct concrete techniques, and mount mailboxes at the right height.
Your mailbox will be secure, level, and meet all requirements. We work efficiently, clean up completely, and make sure you’re satisfied with a professional installation that lasts.
Contact Handyman Harry today at 404-482-1480 or visit handymanharryatl.com for professional mailbox installation.
We’ll get it done right so your mailbox stays straight and secure for years.