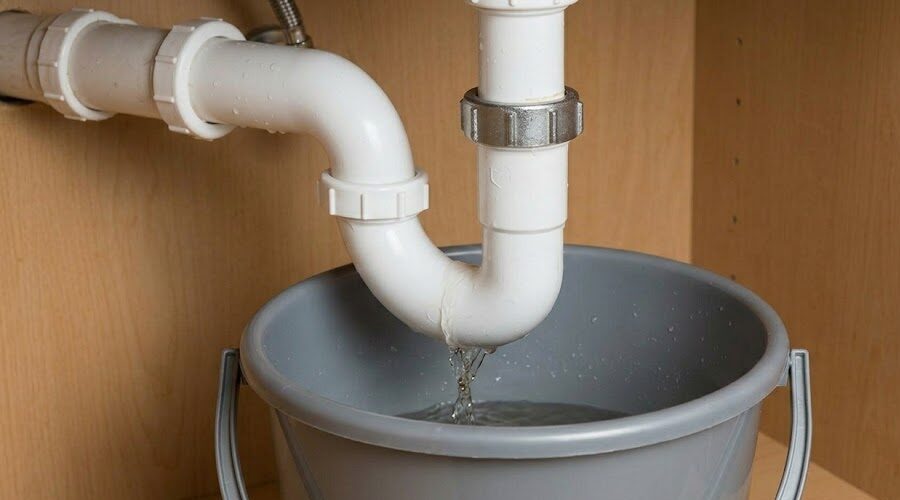
Your kitchen or bathroom sink is leaking underneath. You look under the sink and see that curved pipe, the P-trap, is cracked or corroded. You need to replace it, but standing in the plumbing aisle at the hardware store feels overwhelming with so many options and parts.
Here’s exactly what you need to buy and what tools to have ready before you start installing a P-trap.
Essential Tools for P-Trap Installation
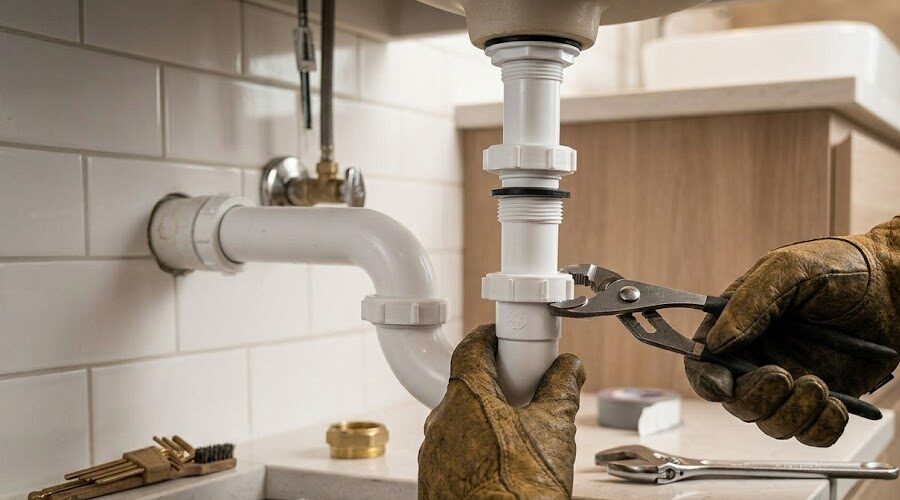
Adjustable wrench or channel lock pliers for loosening and tightening slip nuts on the P-trap connections
Bucket or large bowl to catch water that spills when removing the old P-trap
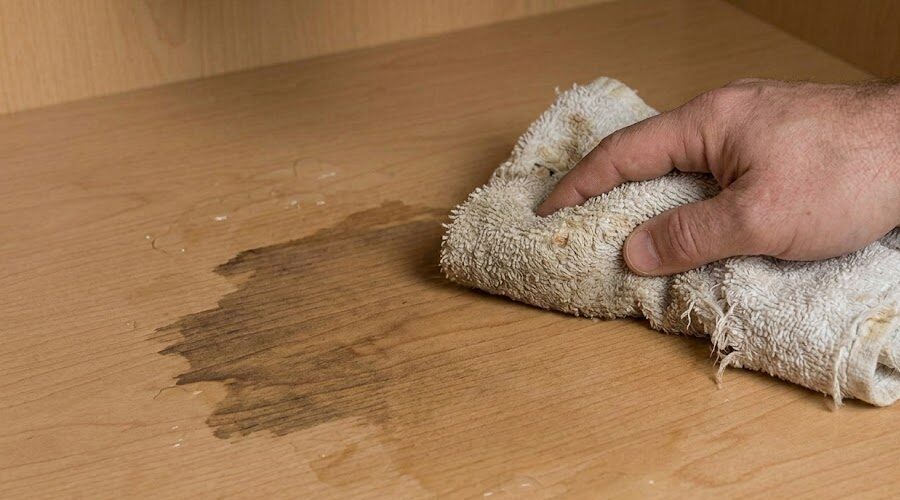
Old towels or rags for wiping up water and cleaning the work area
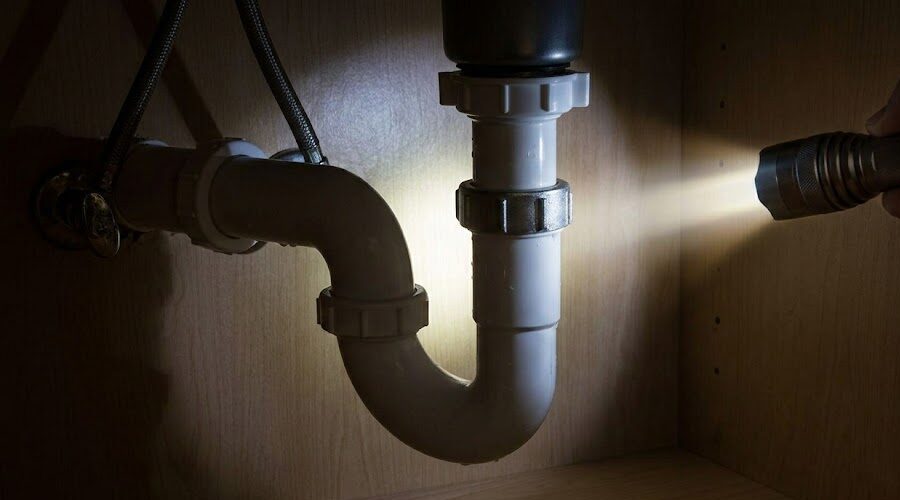
Flashlight to see clearly in the dark space under the sink cabinet
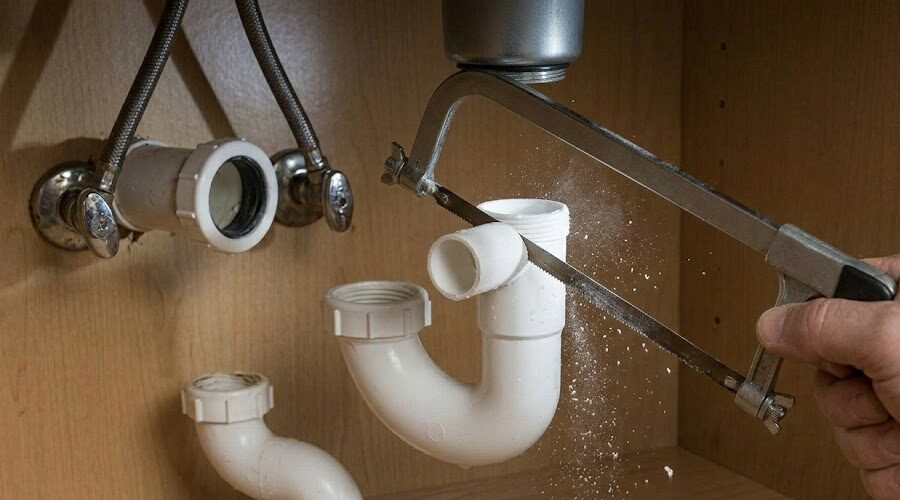
Hacksaw for cutting PVC pipes to the correct length if needed
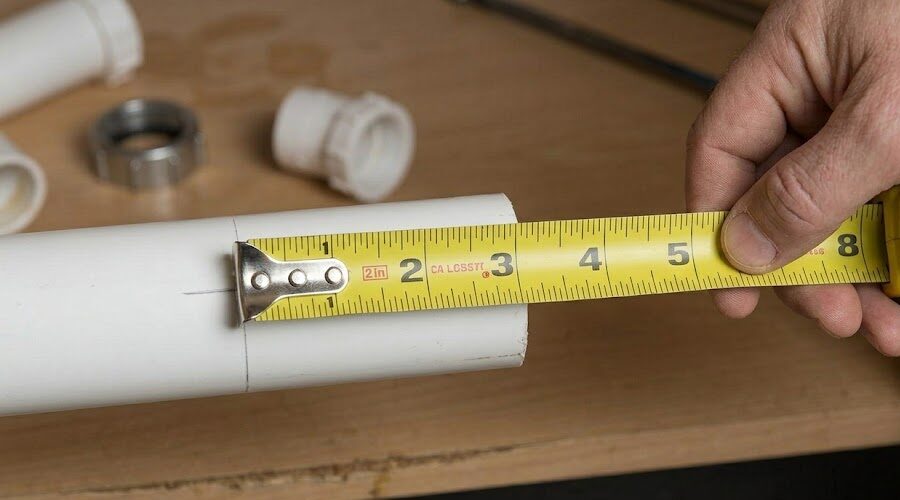
Measuring tape to measure pipe lengths and ensure proper fit
Optional but helpful tools:
Pipe wrench for stubborn old connections Teflon tape for threaded connections Plumber’s putty or silicone (if replacing sink drain too) Wire brush to clean old pipe threads Level to check proper slope
Most homeowners already own these basic tools. You don’t need expensive specialized plumbing equipment for a simple P-trap replacement.
Materials and Parts Checklist
New P-trap kit in correct size
Extra slip joint washers
Plumber's grease for rubber washers
Small container to hold screws and small parts
Check what you might already need to replace:
Sink drain flange if it’s corroded or leaking
Tailpiece if the existing one is damaged
Wall stub out if it’s cracked or corroded
Buying everything in one trip saves frustration. Nothing worse than getting halfway through and realizing you need another part.
Why Having the Right Tools Matters
Using correct tools makes P-trap installation faster and prevents damage. Trying to use regular pliers instead of channel locks strips nuts. Forgetting the bucket means water all over your cabinet. Not having a flashlight means you can’t see if connections are aligned properly.
Professional plumbers carry these tools because they work. Having them ready before you start means smooth installation instead of frustrated trips to borrow or buy tools mid project.
Next, we’ll walk through the complete P-trap installation process step by step so you know exactly what to do with all these tools and parts.